How to to measure a portrait
Tuesday 3 May, 2022
In this episode of Studio Essentials, we will be looking at how to measure your portrait. As ever, Lizet Dingemans knows a thing or two about this - read below to see what she says!

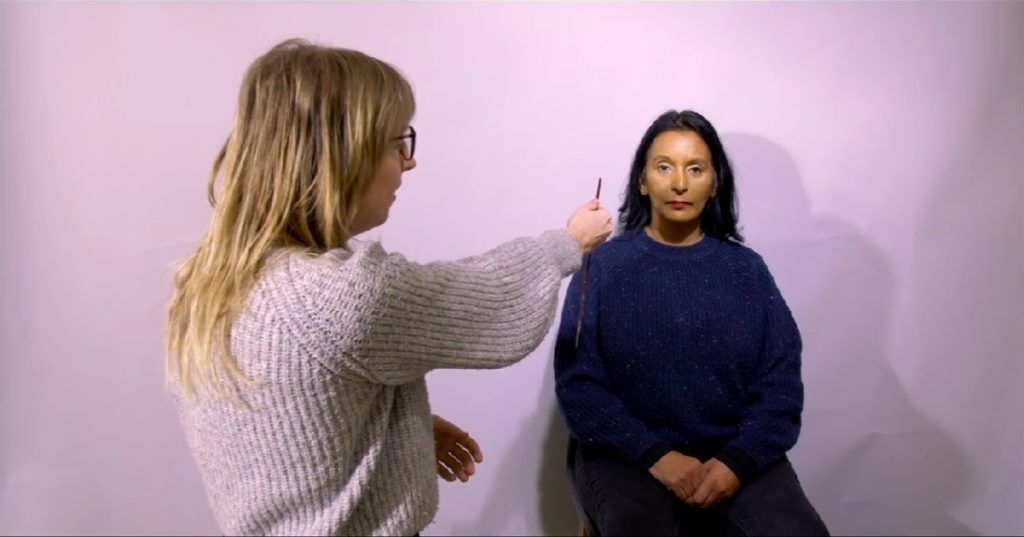
First, a little about the tools you can use for measuring. Anything straight can be helpful: cocktail sticks, knitting needles or even just your paint brush and charcoal!
When measuring your portrait, the most important thing is to lock your elbow and keep the measuring tools straight.
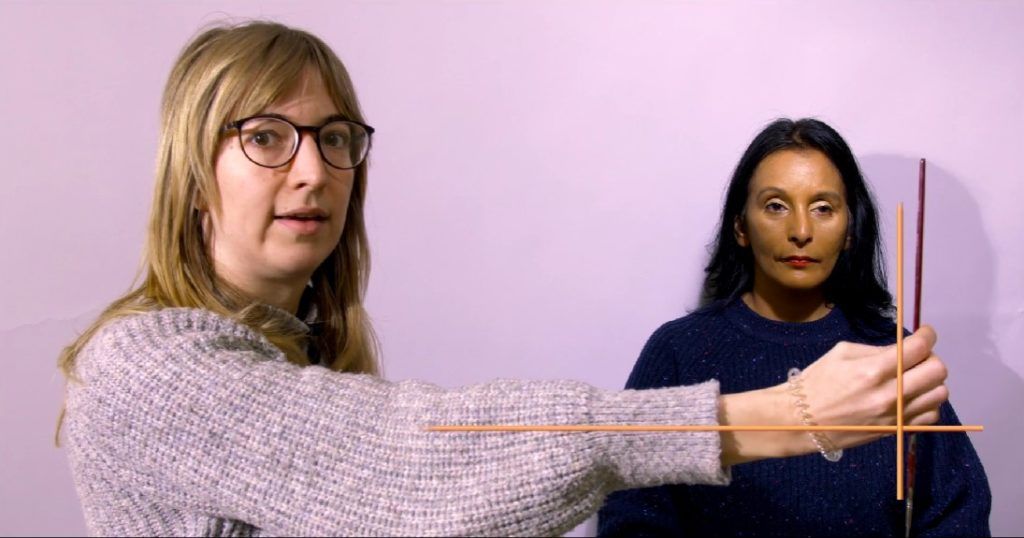
With your elbow locked, the tool you're using should always be perpendicular to your field of vision. Whether you're looking up or down, the straight line of sight will help you gain a more accurate measurement. The reason I recommend locking your elbow is to maintain a consistent measurement and to avoid wobbling!
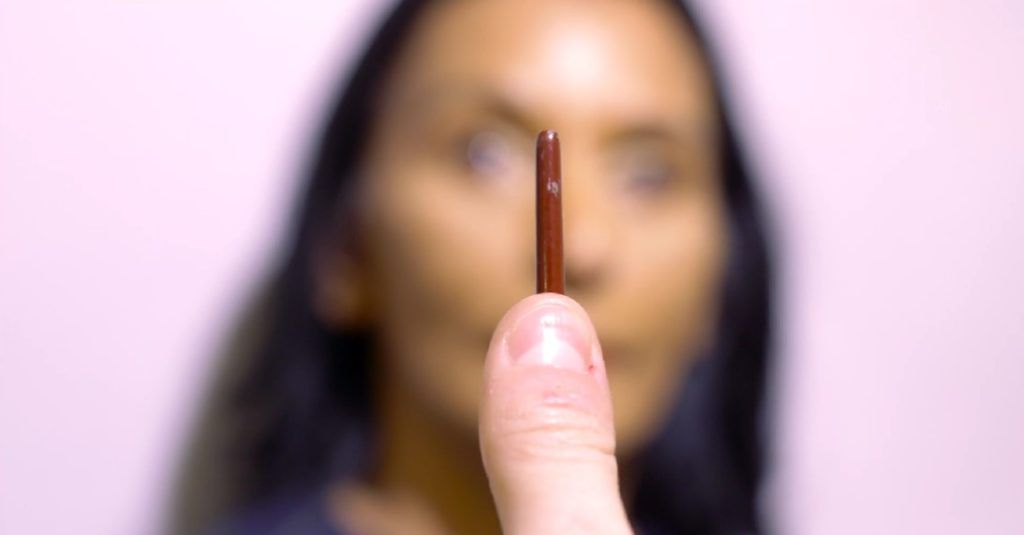
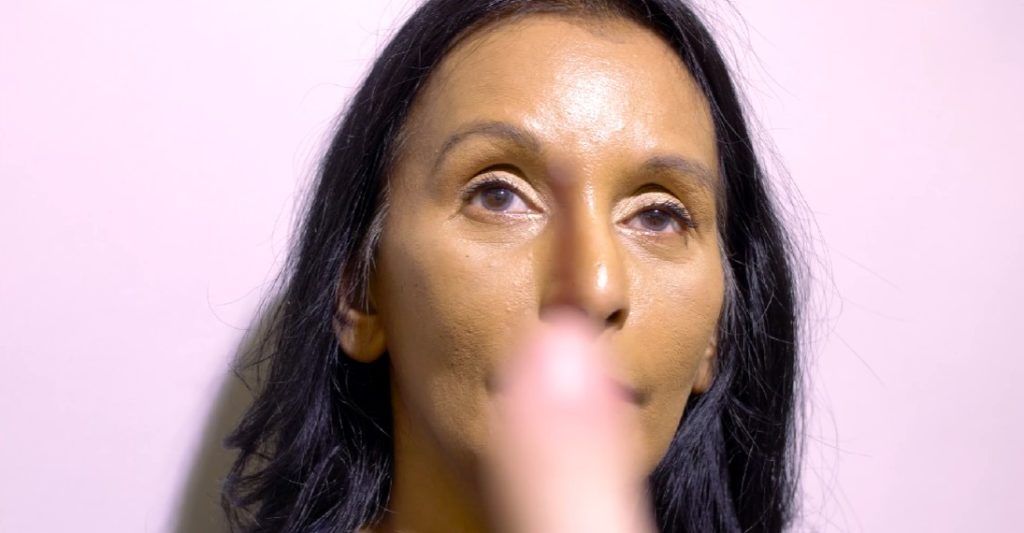
What I tend to do is aim my measuring tool (in this case, a paint brush) towards the model, close one eye and mark with my thumb where I see the measurements.
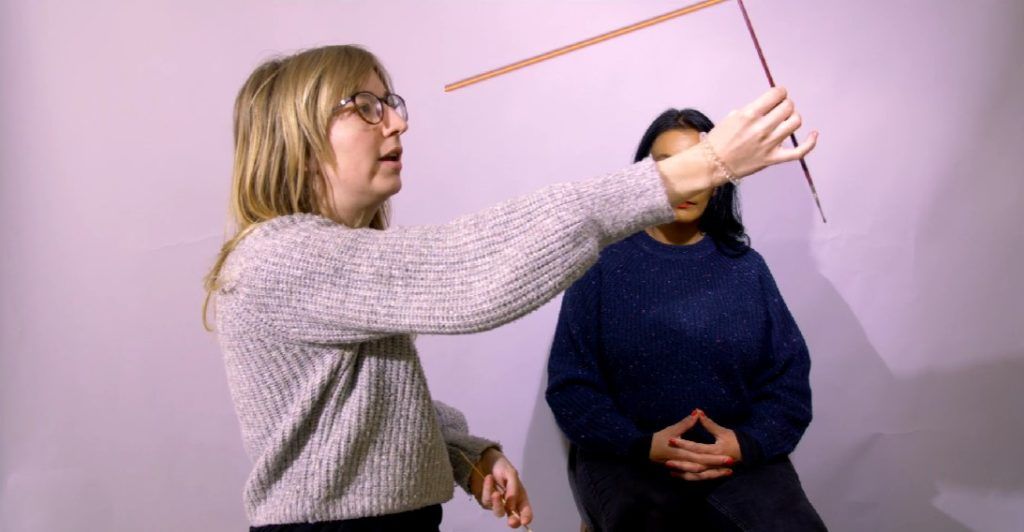
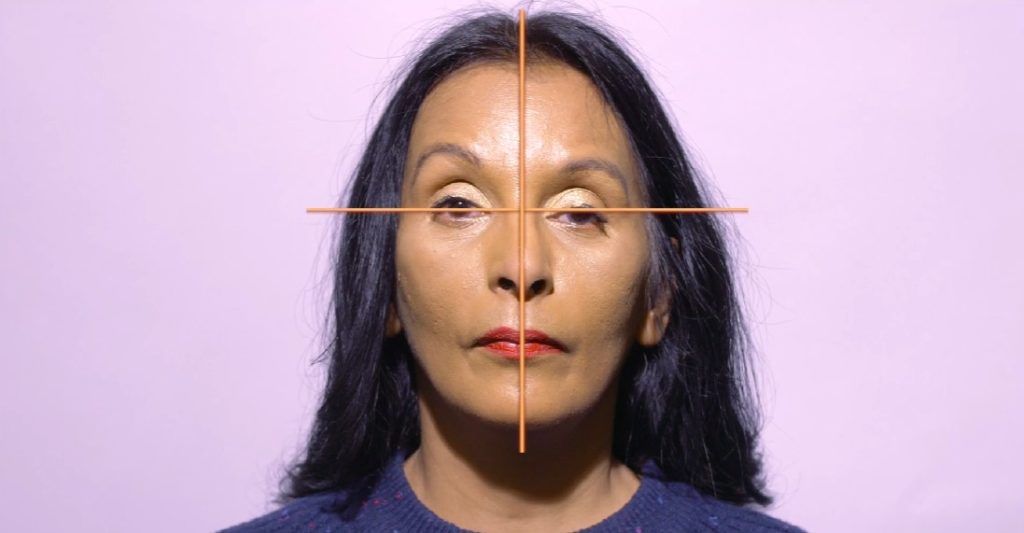
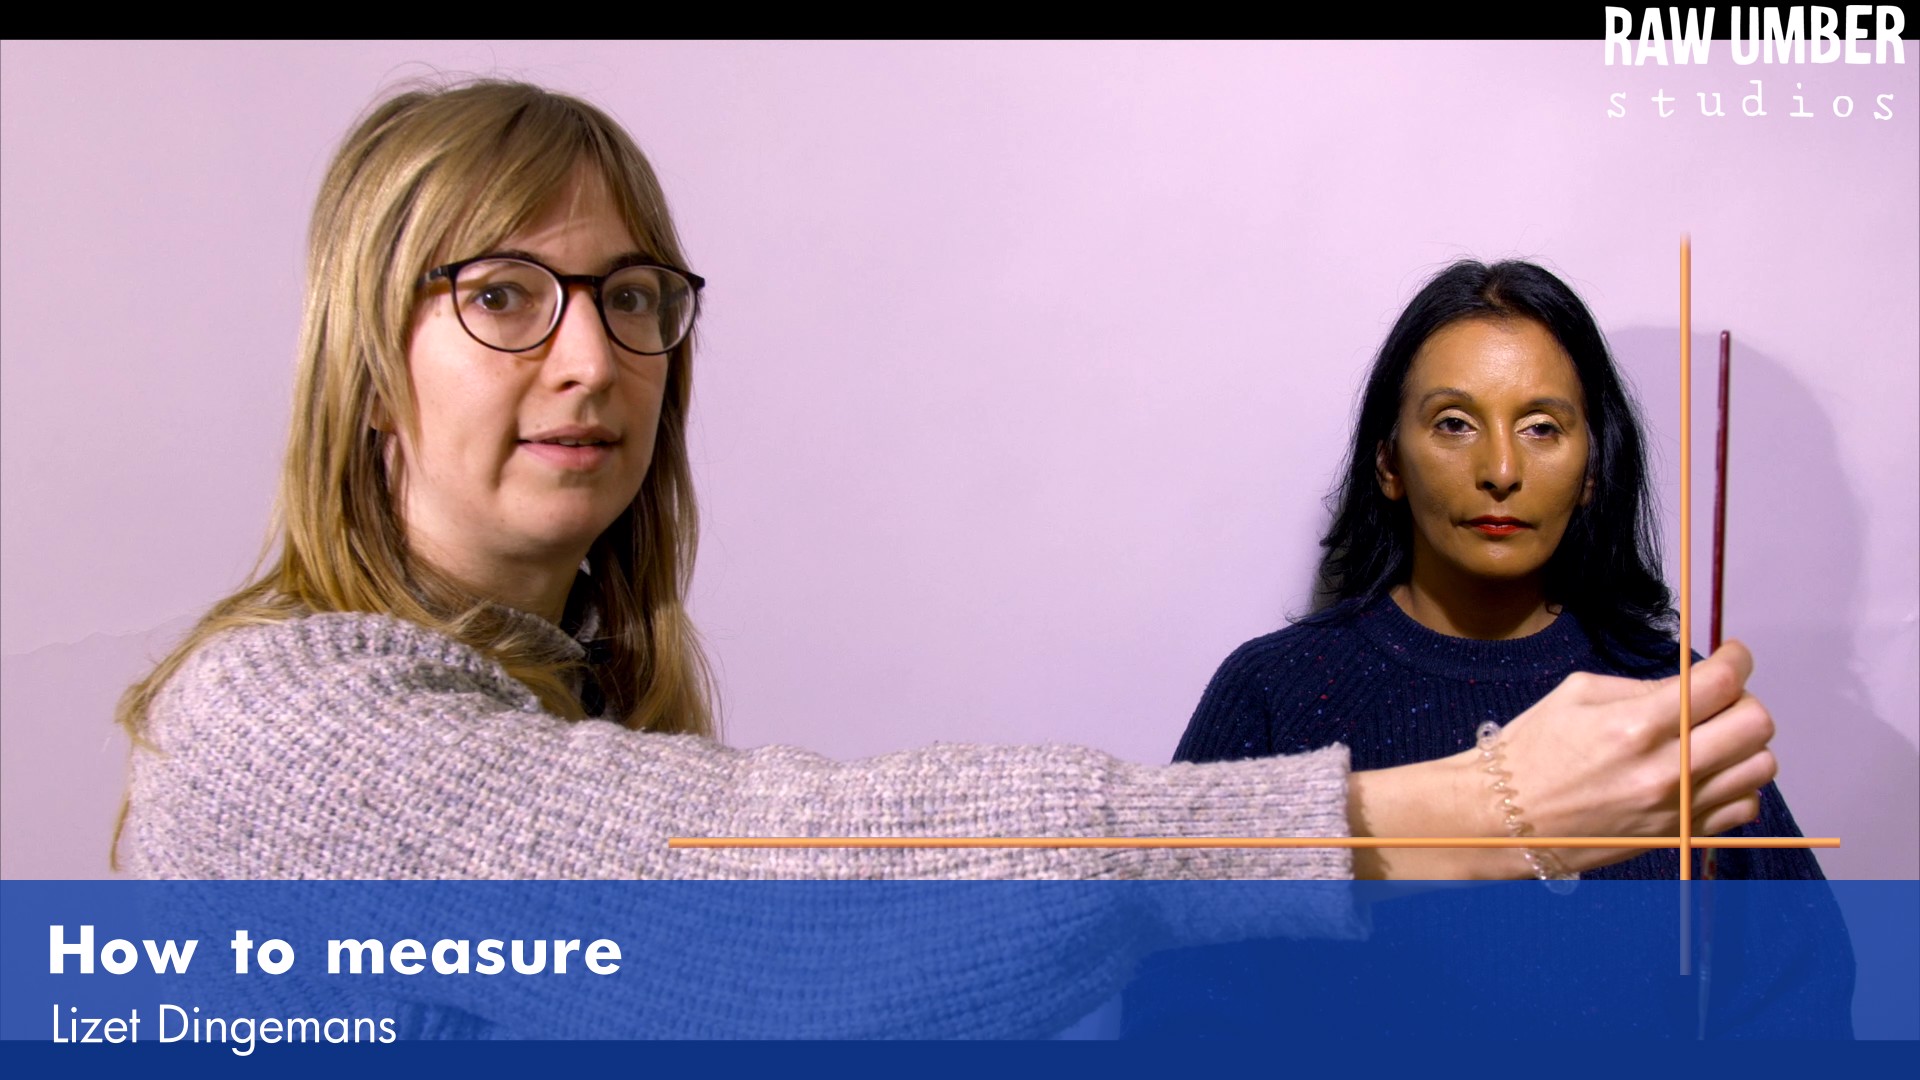
There are some measurements that are pretty universal in portraits. One of these is that the corners of the eyes are in the middle of the face.
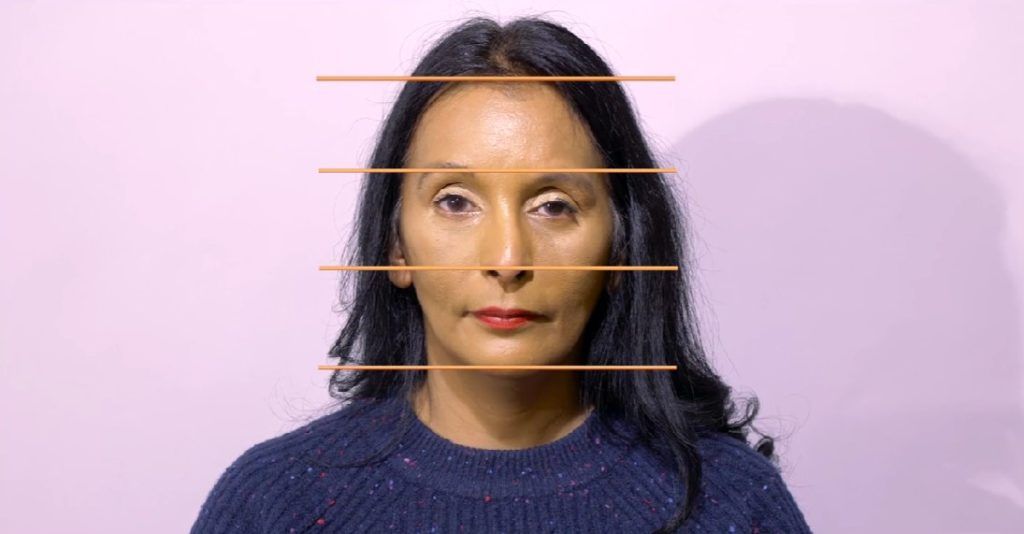
Another universal measurement is that the bottom of the chin to the bottom of the nose, is equal to the bottom of the nose to the base of the brow, which again is equal to the base of the brow to the top of the forehead. (Still with us?!)
This of course, is very individual and doesn't work with every model, however it's also useful to use this to see how your model differs from the 'standard'.
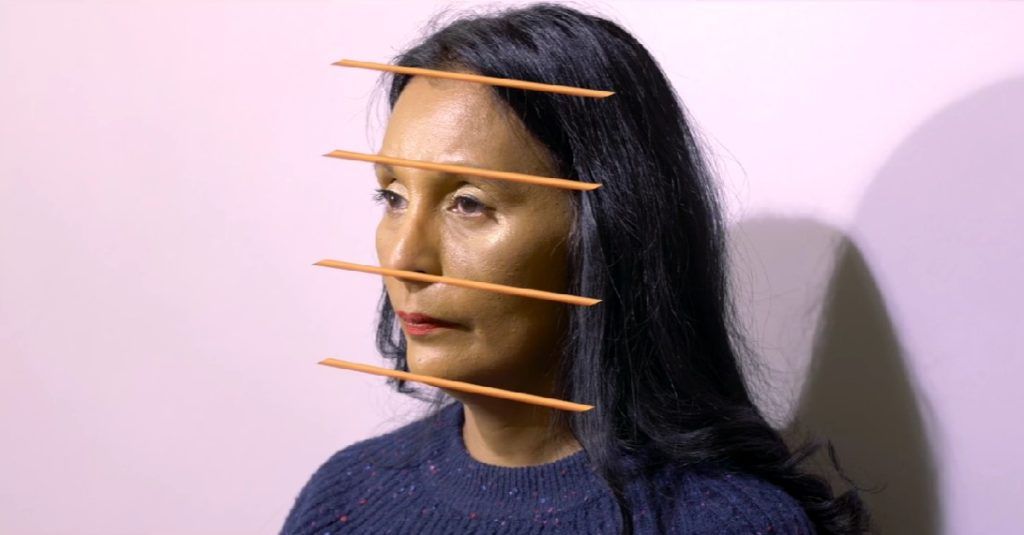
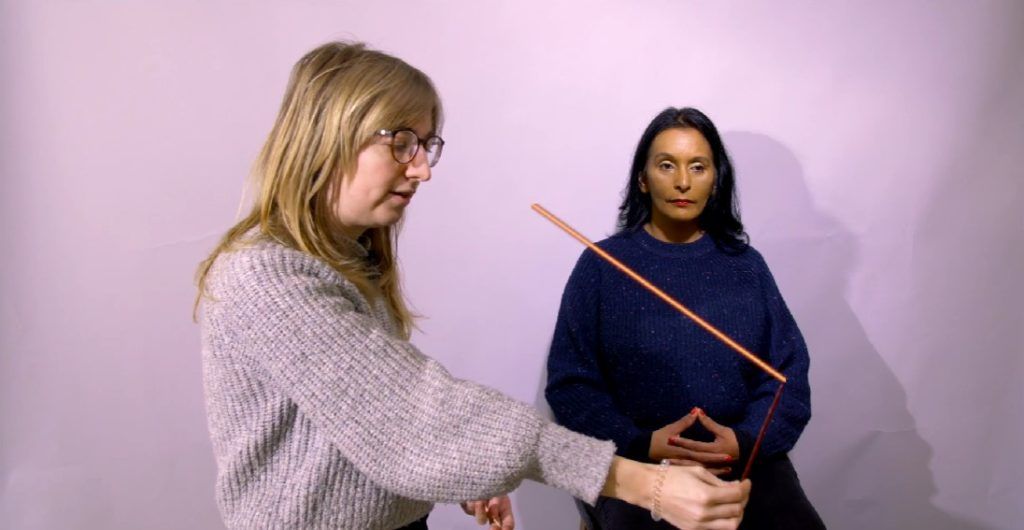
Another useful measuring point is looking at the width verses the height of the face. Here, I can see the side of the cheekbone to the middle of the head, is roughly equal to the bottom of the nose to the bottom of the chin.
This is called comparative measurement. This means I am comparing various areas of the model's face to see how they differ, or if they are the same. This means you can make your drawings as big or as small as you like; as long as your relative proportions are the same, your drawing will work.

Comparative measurement is just one measuring system. Another method is sight-size, which basically means putting your canvas directly next to your subject and making sure the measurements are exactly the same, by sight, side by side.
Now we're all up to date on how to measure a portrait. Give it a go and let us know how you do by tagging us on Instagram with #rawumberlive. Maybe try a Raw Umber tutorial...!
Watch the full video below:
Check out more from the Raw Umber Blog!