How to sharpen your charcoal
Thursday 28 April, 2022
In this episode of Studio Essentials, we will be looking at how to sharpen your charcoal. Artist Lizet Dingemans happens to be an expert in this matter - here are her tips!
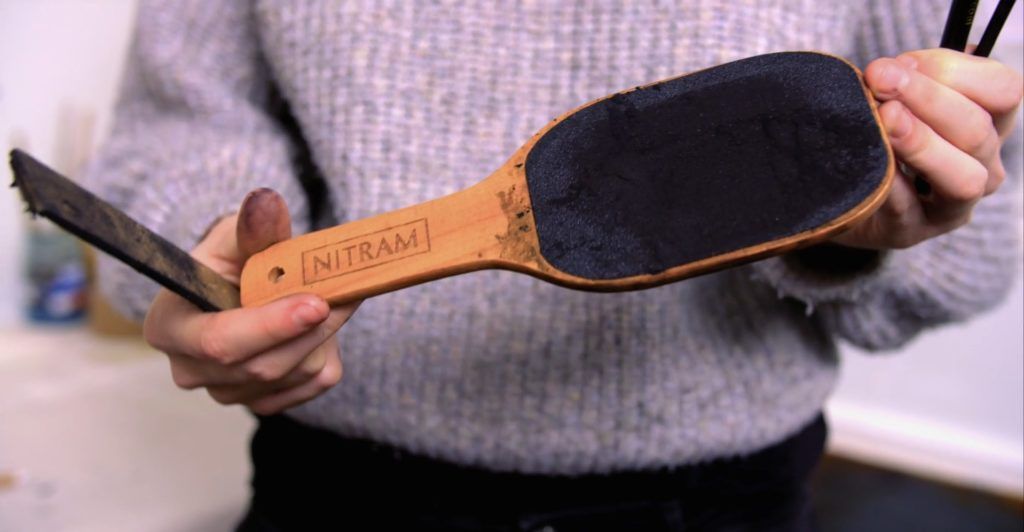
The first thing you need, is of course, some charcoal to sharpen! The second essential is a sharpening pad. The one I'm using is from Nitram, and it has two sides. You can also find a more economical version which is smaller and can be found in most art supply shops. Another option is to use some sandpaper - just be sure to use it on a flat, rigid surface.
First, I'm going to take my charcoal (in this case, I'm using willow charcoal) and place it on the sharpening block. Make sure the charcoal is completely flat and horizontal on the block, and then make short side-to-side movements. Be sure to slightly turn the charcoal as you go, in order to catch all the sides as you sharpen. This evens out the pressure.
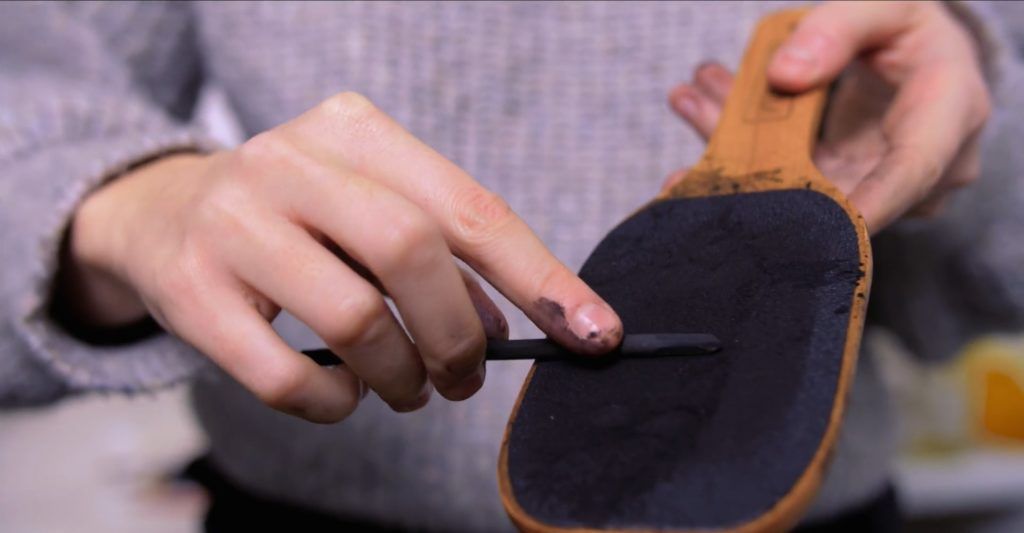
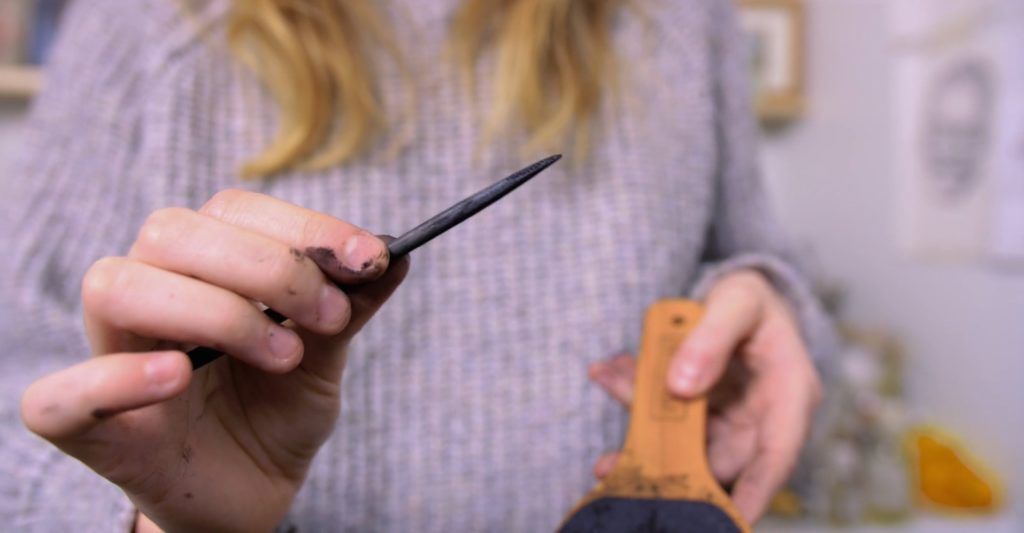
This gives you a nice sharp point to work with!
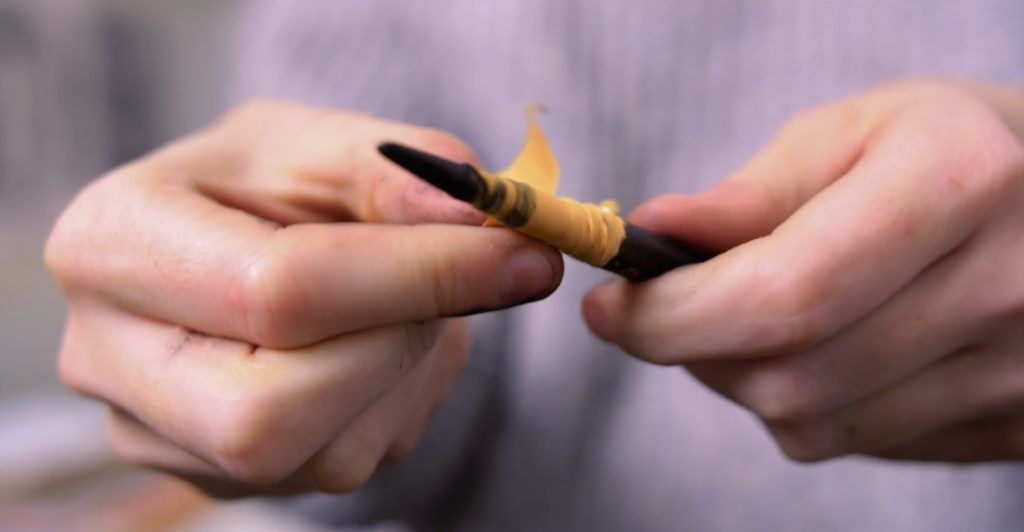
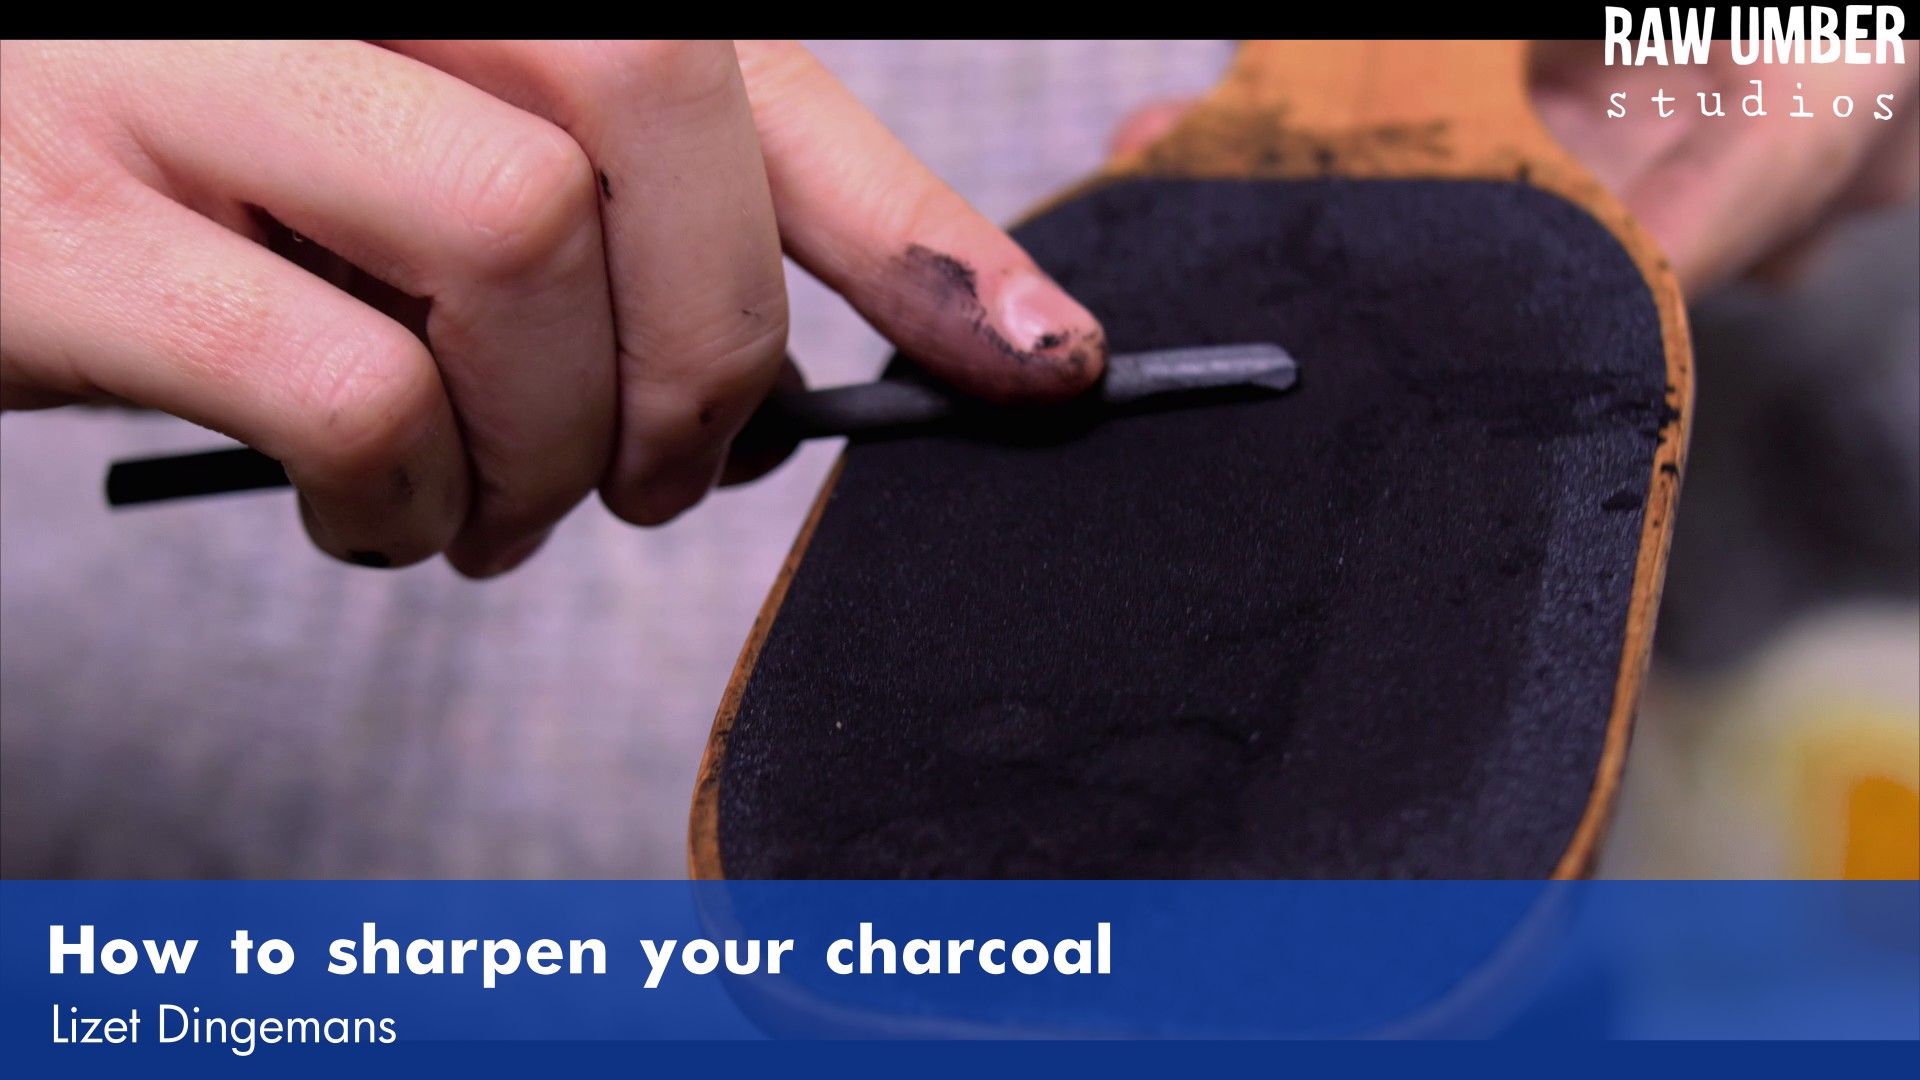
I also like to use peel-and-sketch charcoal pencils, and these are a bit different. They come with a little bit of rope that you can pull back to reveal the paper, and then you're able to peel the paper back to expose the compressed charcoal underneath.
Next, I place my finger over the middle of the led, making sure I apply even pressure, slowly turning the charcoal as I move it across the sharpening block (same as before!).
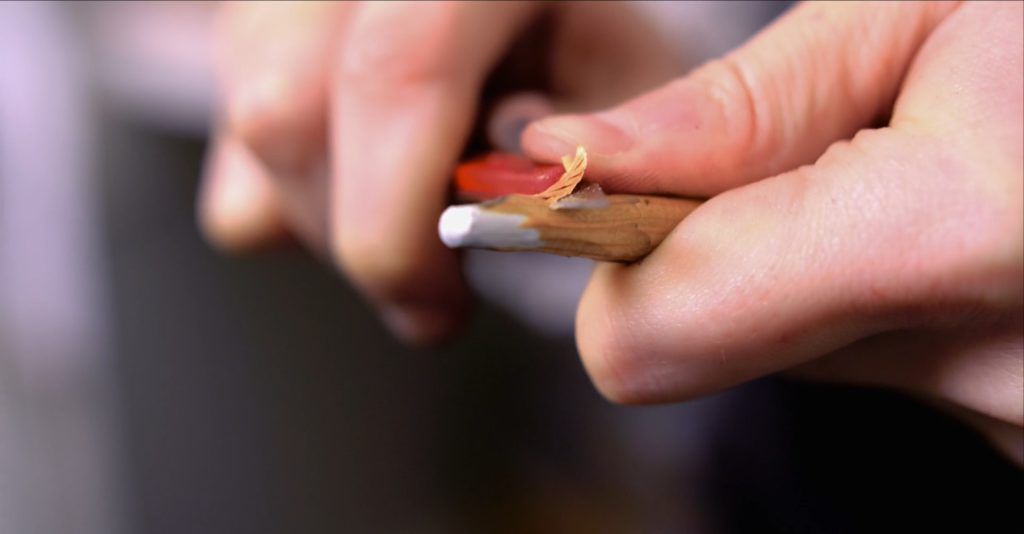
Another thing I can do is to sharpen my pastels. While I could use a sharpener, what I prefer to do is expose more of the led with a knife. I take my knife at a slight angle and push it with my thumb towards the nib, making sure to turn the pencil after each slice to gradually expose the led underneath.
The reason I use my thumb for this movement is that sometimes I accidentally chop off the end of the pencil if I hack into it with the knife alone! This way, I can slowly expose the pencil without damaging it.
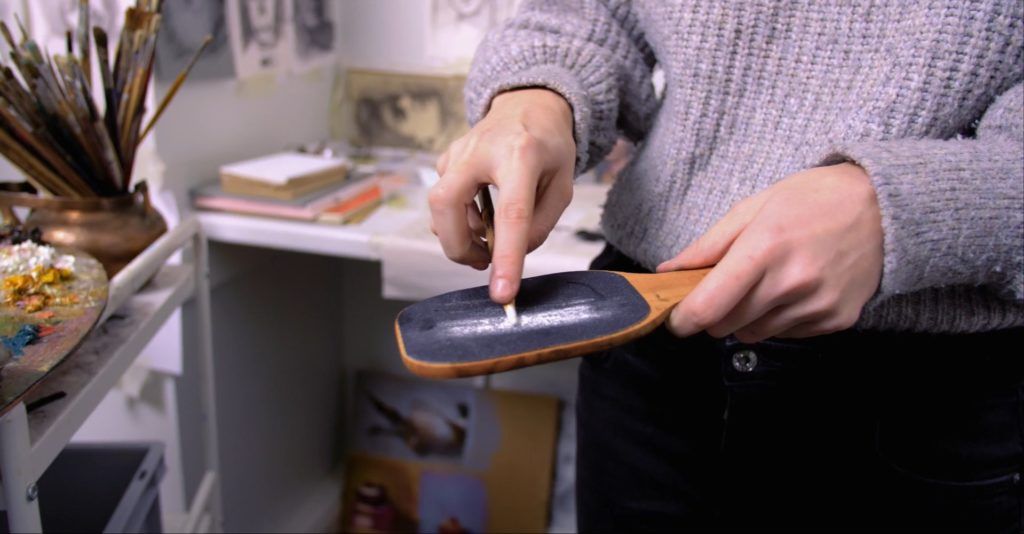
Now we can go back to the sharpening block (make sure to avoid using the same side as you used for the charcoal). Using minimal pressure, work the pencil back and forth along the block, turning as you go. Try and keep your pencil at a slight horizontal angle against the block to avoid breakage!
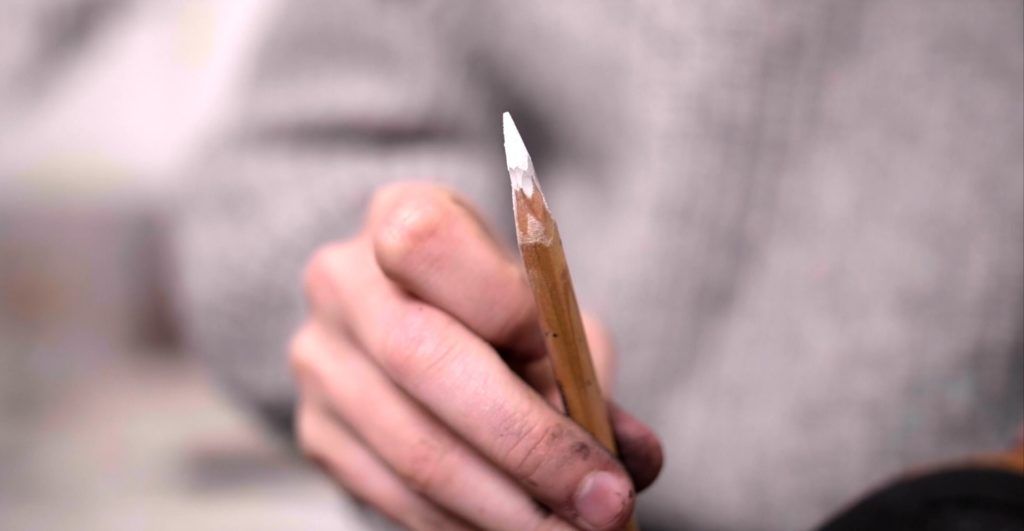
We did it! Our charcoal is sharpened and ready for your next artwork. Maybe even a Raw Umber tutorial...!
Watch the full video below:
Check out more from the Raw Umber Blog!