How to see and draw shapes
Tuesday 3 May, 2022
In this episode of Studio Essentials, we will be looking at how we can find shapes in your subject and use this to capture a portrait. Lizet Dingemans comes to our rescue with her invaluable advice!
Shapes are really important in your drawing. They allow you to capture the figure or portrait in small, abstract areas rather than trying to draw the whole detailed subject at once. I'm going to show you how to see shapes and how to use these shapes in your drawing of the portrait. Today I'm joined by the lovely Annie!
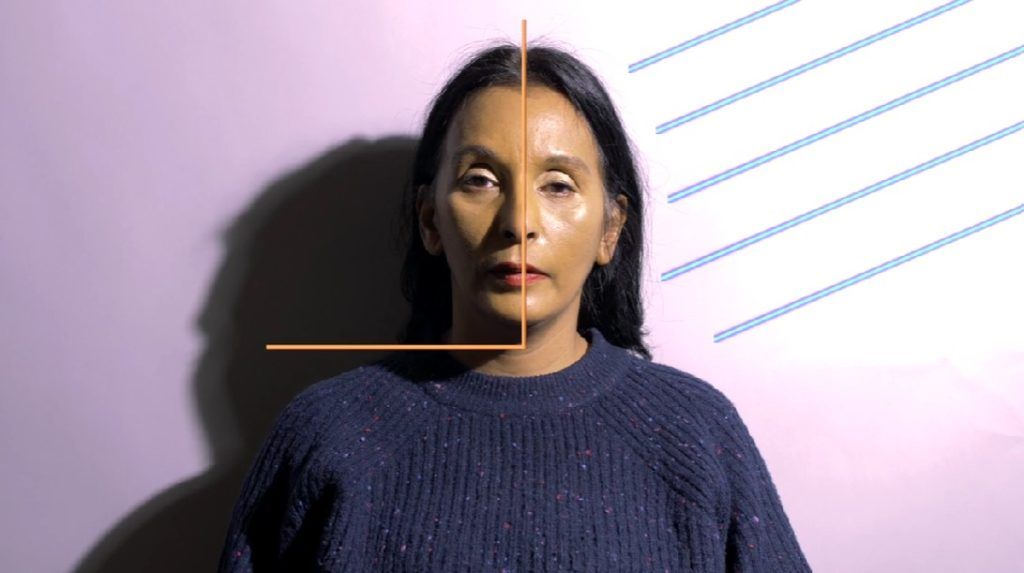
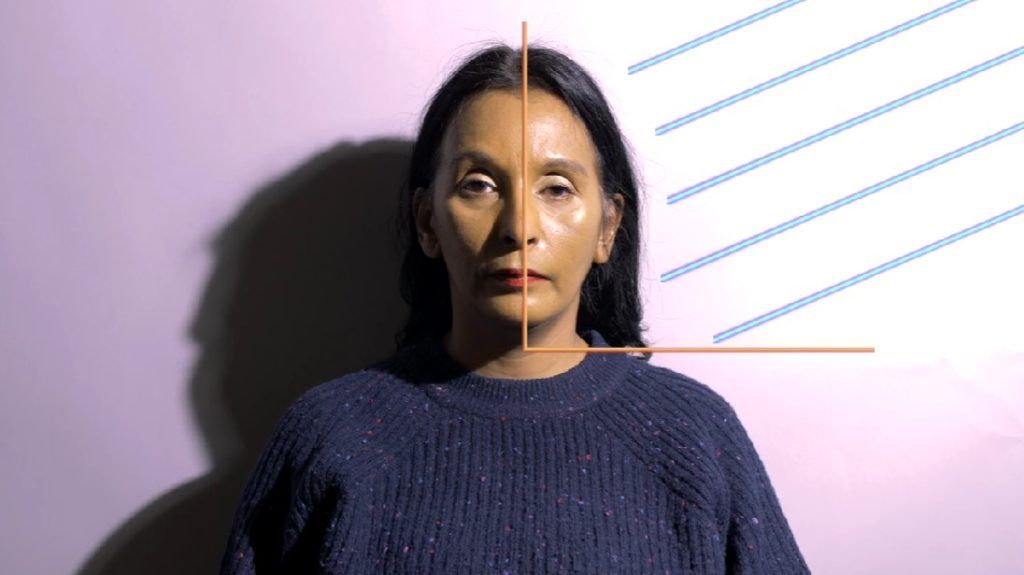
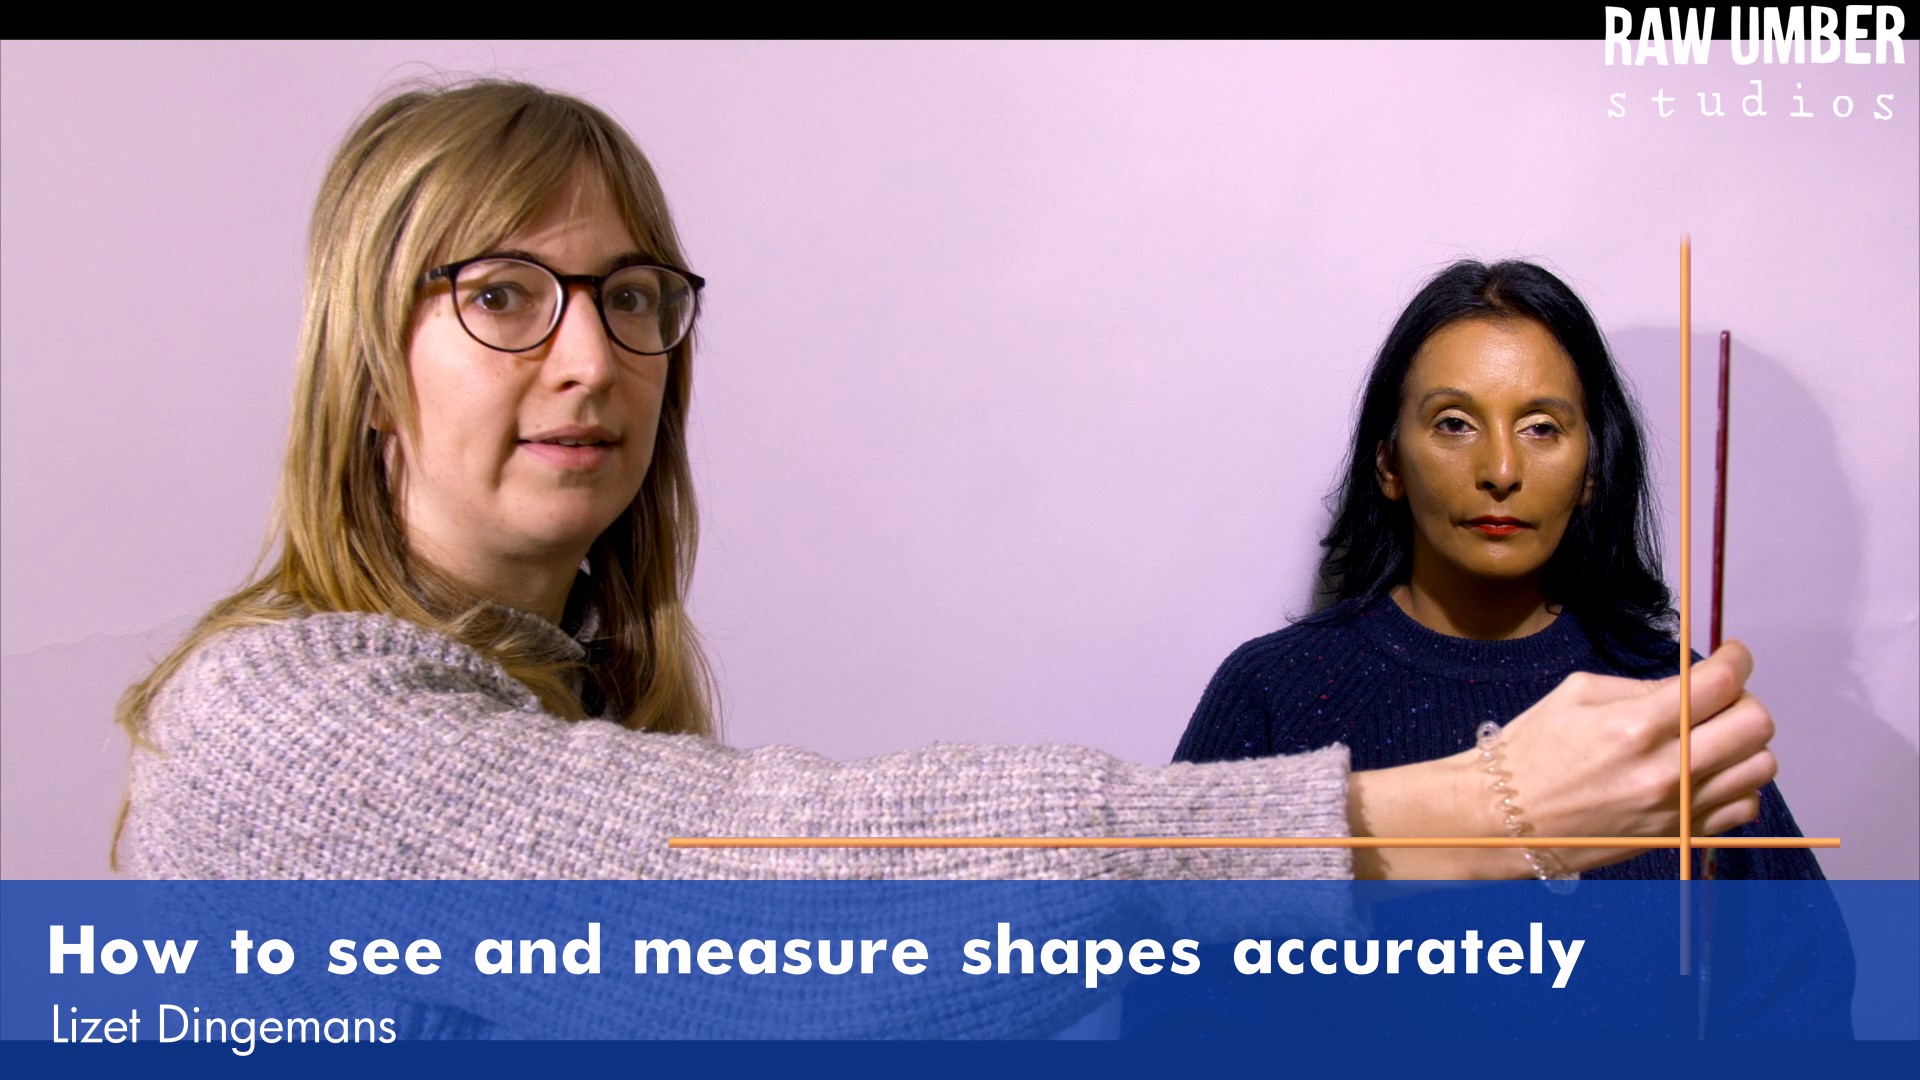
The first thing I want to talk about is the tools. One thing that is extremely useful in this situation is a plumb line. A plumb line is a wire (or fishing line in this case) with something heavy tied to the bottom. Gravity pulls the wire straight and we can be sure that this will provide us with a perfect straight line.


This is extremely useful when you're comparing vertical shapes. For instance in Annie's portrait, we can see that the middle of her eye lines up with the corner of her mouth.
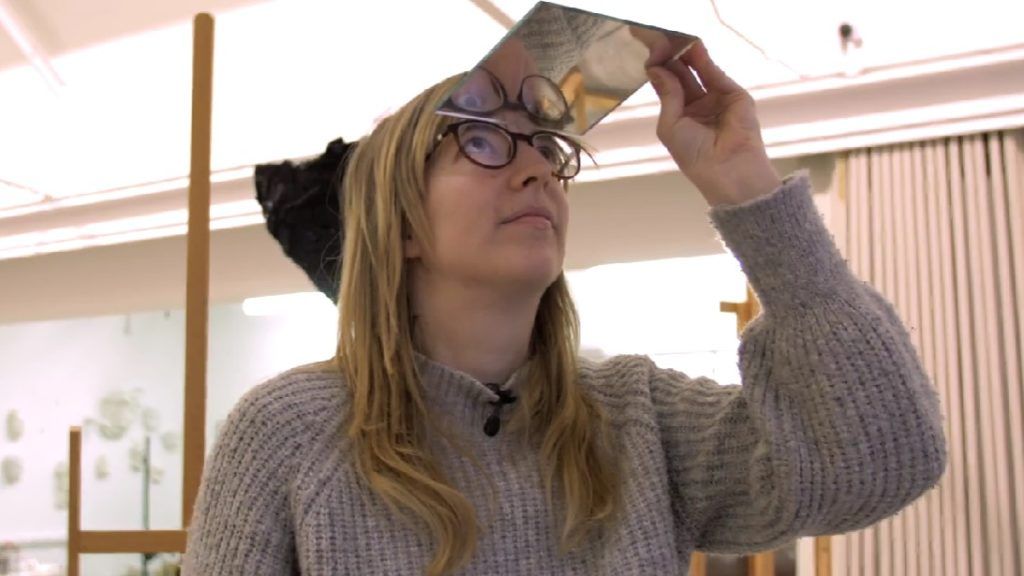

Another useful tool for finding shapes in a portrait, is a mirror. I have two here; a normal mirror and a black mirror. I can use these to look at Annie through the reflective mirror, which flips the image upside down and helps me see the abstract shapes more easily.

A black mirror is useful as it compresses the values and tones together. We can still see the shadows and the lights of Annie's face, but the details are hidden from view. This allows us to see the main shapes of Annie's face without any distraction when drawing.
This black mirror is just a piece of glass with black acrylic paint on one side! You can achieve the same effect by squinting your eyes at your subject.
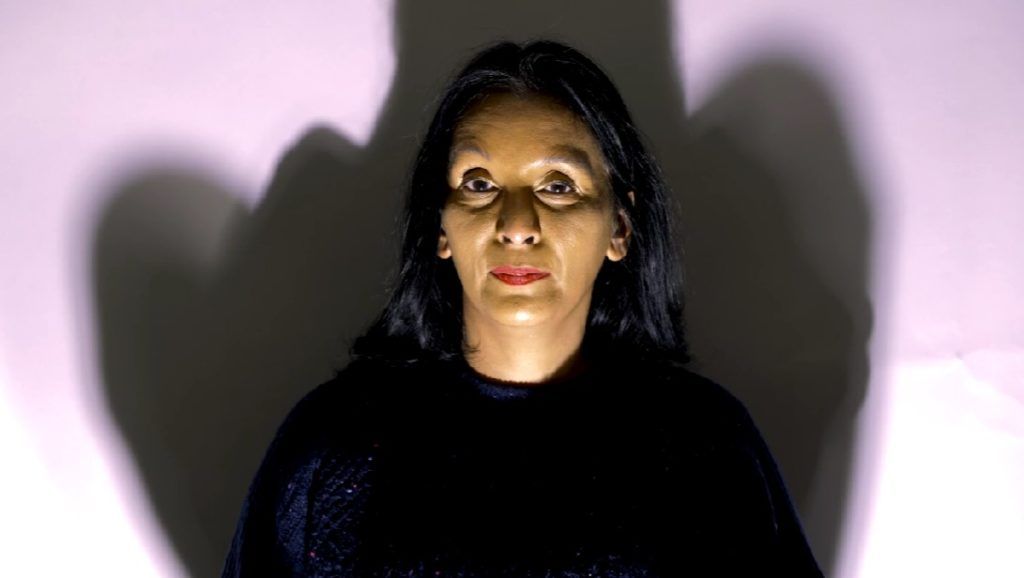
When setting up your portrait, lighting is crucial to finding shapes - here are some examples of lighting set-ups to consider.

Top down: very flattering on most people.
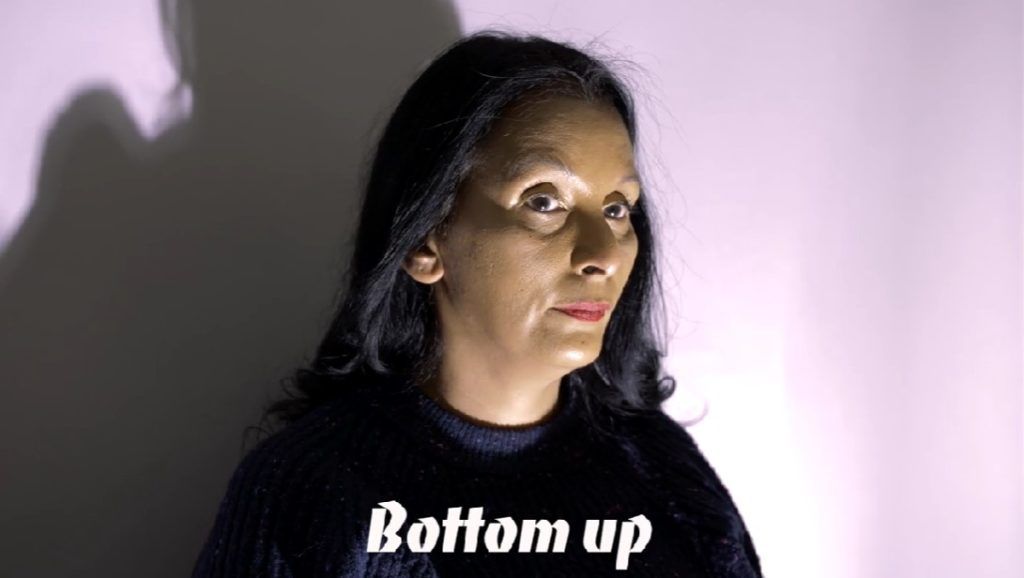
Bottom up: can give a sense of foreboding or drama to the portrait.
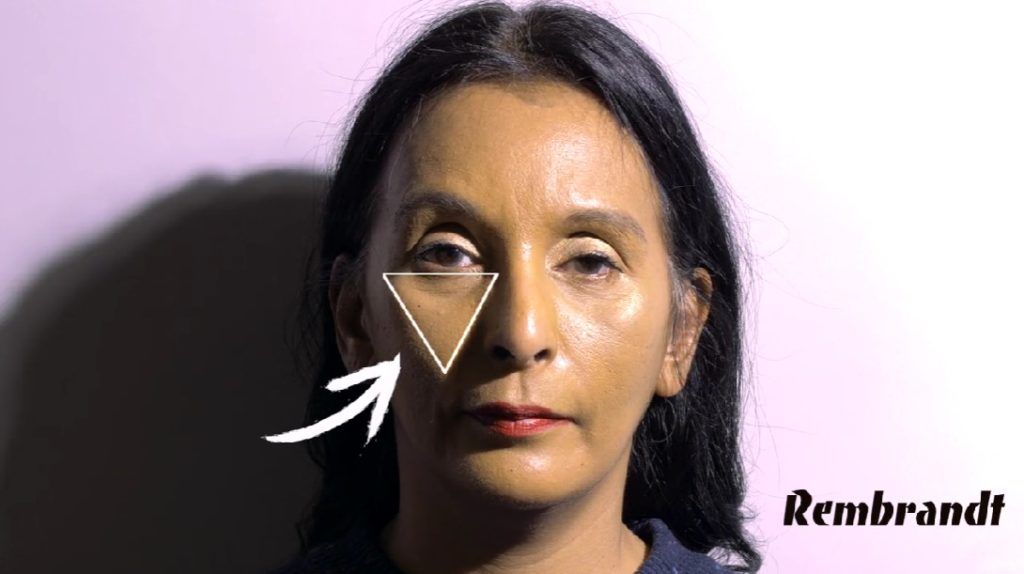
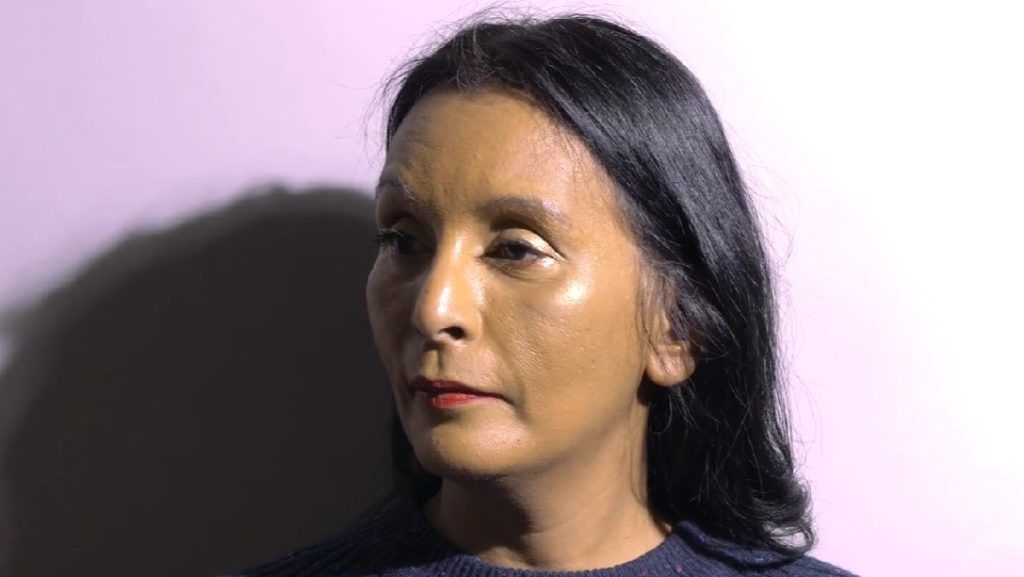
Rembrandt: also known as side light, gives a distinctive triangular shape of light on the side of the nose/cheekbone.
You want to set up your model in a way that helps you easily see the shapes. One third of shadow on your subject is ideal to indicate the planes of the face. Try not to light them with flat light or a very dark light, as this will flatten your drawing.
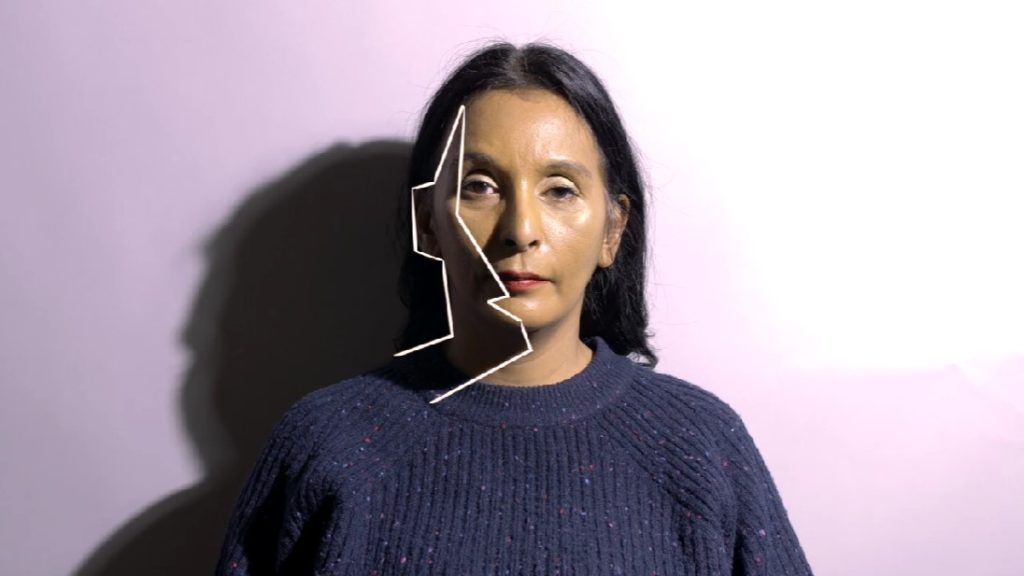
One thing that's important to remember about shapes (especially shadow shapes), is that they're a good indicator of what is happening with the planes of the face.
When your model moves their head, the shadows change. The planes that are perpendicular to the light become brighter, and the planes that turn away from the light are darker.


Most of the time, your light source will be coming from above your subject. This means the top of the nose will be light, while the bottom plane of the nose will be dark. If we reverse this, we can see the opposite effect.
It's helpful to outline these shapes, as we can see that our subject is mainly made up of lines, triangles and other abstract shapes that make up the portrait. If you can see and capture these shapes, you're good to go!
Watch the full video below:
Check out more from the Raw Umber Blog!