Drawing the portrait from a photograph
Thursday 13 July, 2023
Drawing from life has always been the classic and most beneficial way to learn how to draw the portrait. But not all of us will have the luxury of a regular model or life drawing class, or simply prefer to practice from the comfort of their own home.
What is an artist going to do to hone their skills? Work from photographs of course!
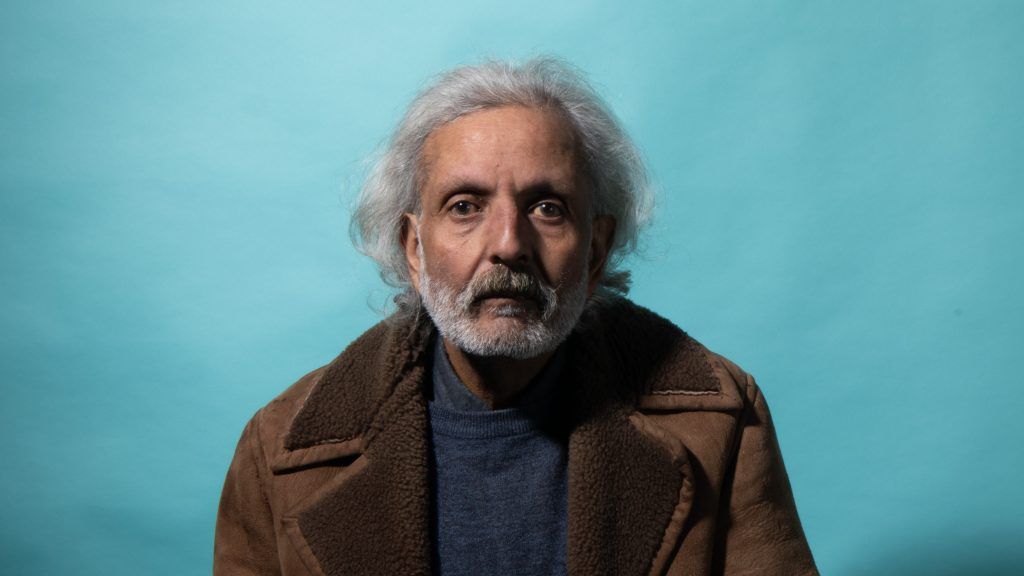
Working from photographs can be a really good way to practice your drawing and painting skills, if done right. I will take you through how to draw a portrait from a photograph using one of the Raw Umber model images. You can find 100s of these images in the Raw Umber image library, or alternatively, join me for one of our Sunday portrait sessions online, where I take you through how to draw a portrait from photographs online, every Sunday at 4pm UK time.
Materials:
If you are just starting out with drawing, I recommend 4 basic purchases:
- Smooth paper in A4 or A3, I use Daler and Rowney pads
- Generals charcoal pencil (in soft)
- Faber Castell Kneadable Art Eraser
- A pack of Coates willow charcoal in various sizes
- A sharpening block for charcoal, I use a Faber Castell sharpening block
- A blending stump or brush for blending, I use a Daler Rowney Simply Gold Taklon Synthetic Brush and a Cretacolor paper stump, as well as a hog brush to blend.
Of course you can use any materials you are familiar with or prefer to use.
Measuring:
Before we start drawing, I want to take you through how I measure the basic proportions of the head. I am using a system called comparative measurement in this article and in my videos. This means that I will be comparing different parts of the face against one another. In order to compare on your drawing, lay your pencil across your drawing, and mark the area you want to measure with your thumb and the tip of the pencil or other tool. Now you have the measurement marked, you can move your hand across various areas of the drawing to see how other body parts compare in size.
Some general measurements to look out for:
There are some things to note here that will help you structure the head:
- When dividing the face in half, the eye-line will be located halfway down the skull.
- In most people, the face can be divided into 3 thirds; bottom of the chin to bottom of the nose, bottom of the nose to top of the brow, and brow to top of the skull/forehead.
- The width of the head will be 2/3rds of the total height of the skull.
- The mouth area can be divided in 3 thirds; bottom of the chin to top of the chin, top of the chin to bottom of the top lip, and top lip to bottom of the nose.
Note that these proportions are idealised, meaning that there is a huge amount of variety in portraiture, and these measurements and proportions are by no means one size fits all, but rather a place to start making sense of the individual differences.
Demo:
Now we have established the main principles of my measuring method, let’s get drawing!
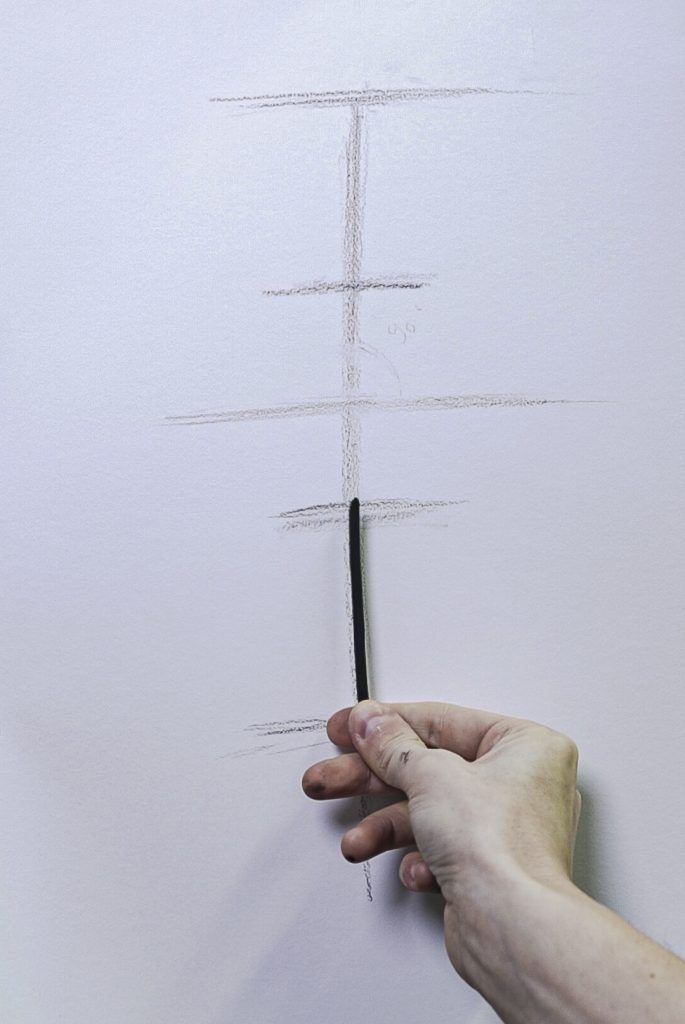
Step 1: The first lines
The first thing I tend to do is do some measuring; I start by placing the top and bottom of the block of the skull on the page. This will decide where the portrait will be, and will be the main thing we will relate all our other measurements to. I follow this with the centre line, and the 3 thirds of the face. If you are unsure how to measure, have a look at the ‘measuring’ paragraph.

Tip! Instead of drawing from the wrist, try standing back a bit further and use your whole arm to shade. This will let you apply even pressure on the charcoal and makes creating long, flowing lines easier.
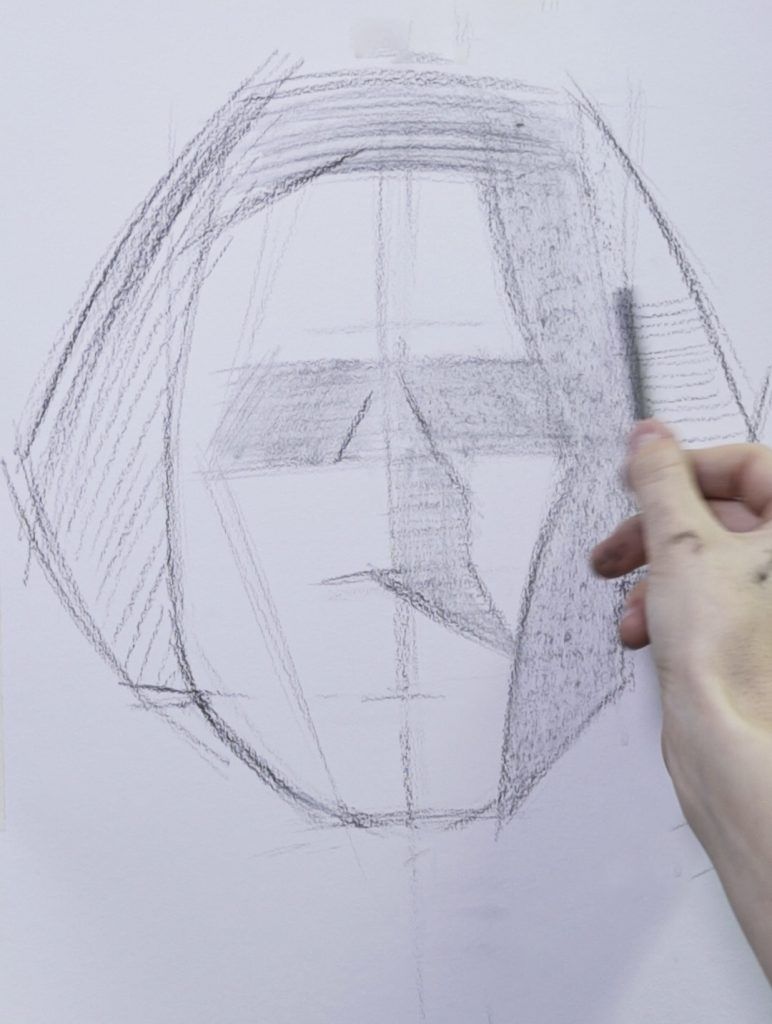
Step 2: Adding the main blocks of the head
From here, we can start adding the main planes of the face, ignoring the individual features for now. . I am using comparative measurement throughout, to make sure my proportions are consistent. When figuring out the width of the front vs the side planes, keep in mind that generally, the skull will be about 2/3rds the width compared to the height..

Step 3: Adding shapes by shading
If you are happy with the placement of the main planes of the skull, it is a good time to start adding shading. It is a good idea to think of the whole face as simple dark and light shapes instead of features like eyes, nose etc. Start shading these basic shadow shapes, keeping an eye on your measurements and ignoring the details. At this point, don't worry if it looks a bit abstract, the main thing is to establish some dark shadow shapes to indicate the placement of the features and the hair.
Step 4: Building on the shadow shapes
Now we have shaded the main blocks of the face, it is time to break these shapes down further. Using the same technique as the last step, I keep measuring and looking for rectangles, triangles and other abstract dark shapes. Try not to work inside the shadows at this point, instead, concentrate on making your dark shadow shapes more and more precise.
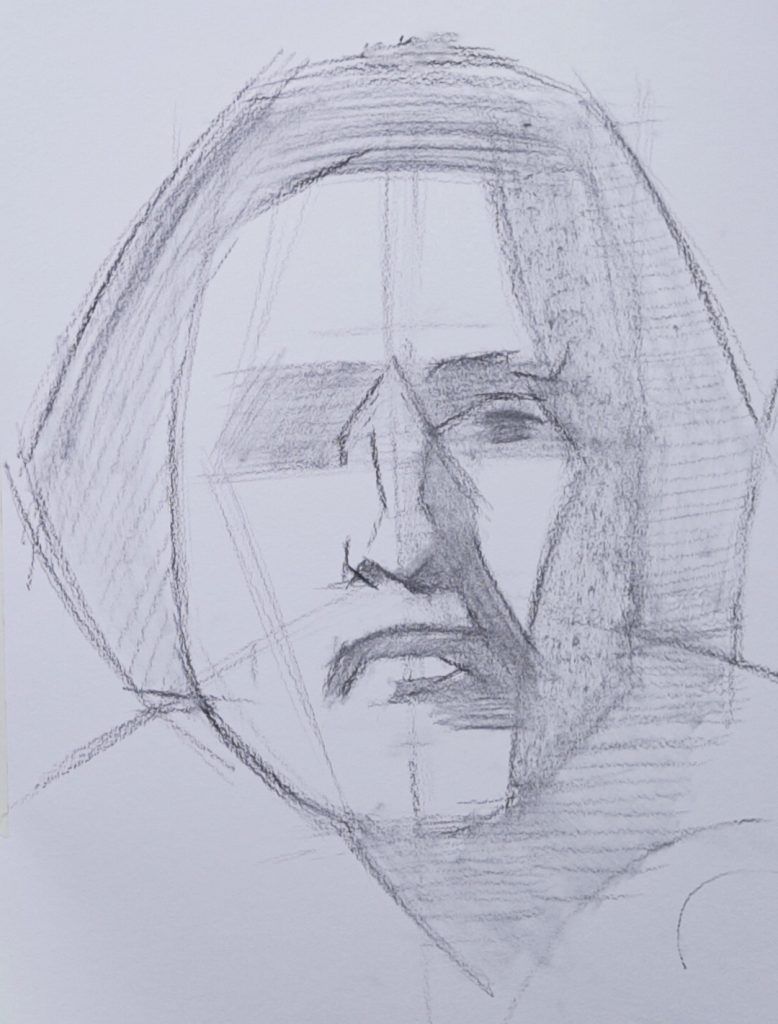
Tip: A good general rule is to always keep working from big to small shapes. Imagine a sculptor, chipping away at a block of wood - they wouldn’t start with the eyelashes!
Step 5: Adding softs
Before adding more detail, it is a good idea to focus on the edges between light and dark shapes and add some soft edges, or gradations. Observe the photograph - which dark tones have a clean division between light and shadow, and which are more of a gradation?
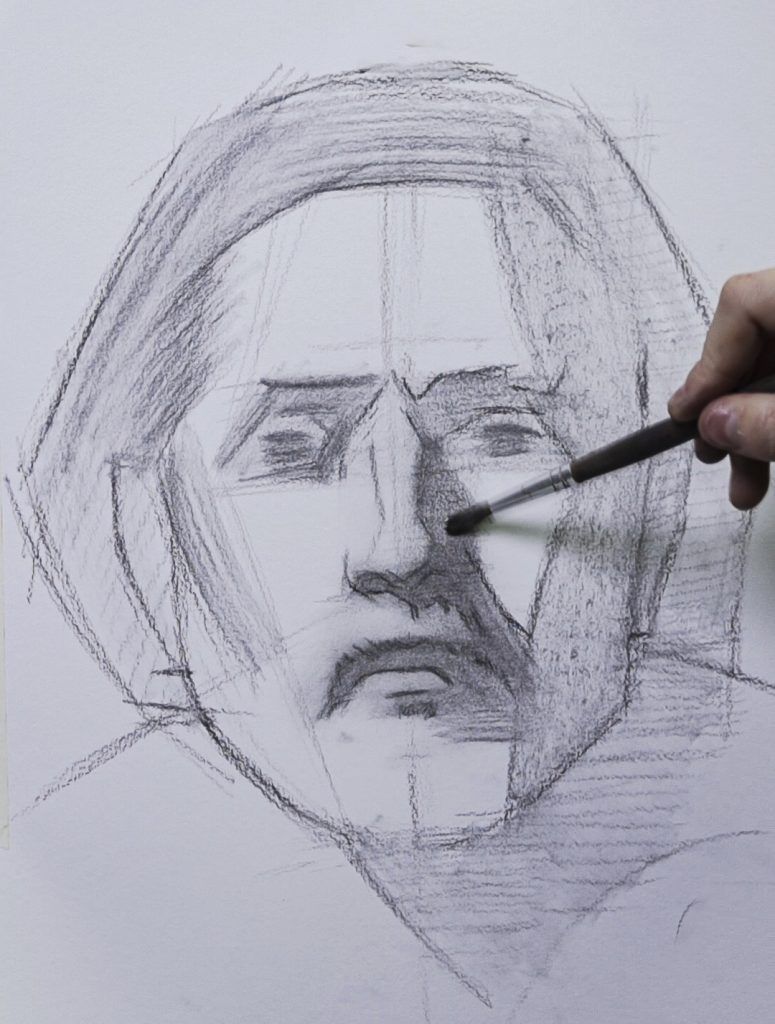
I like to use a hog brush to blend my shapes, but you can also use a stump, kitchen roll or even a clean finger.
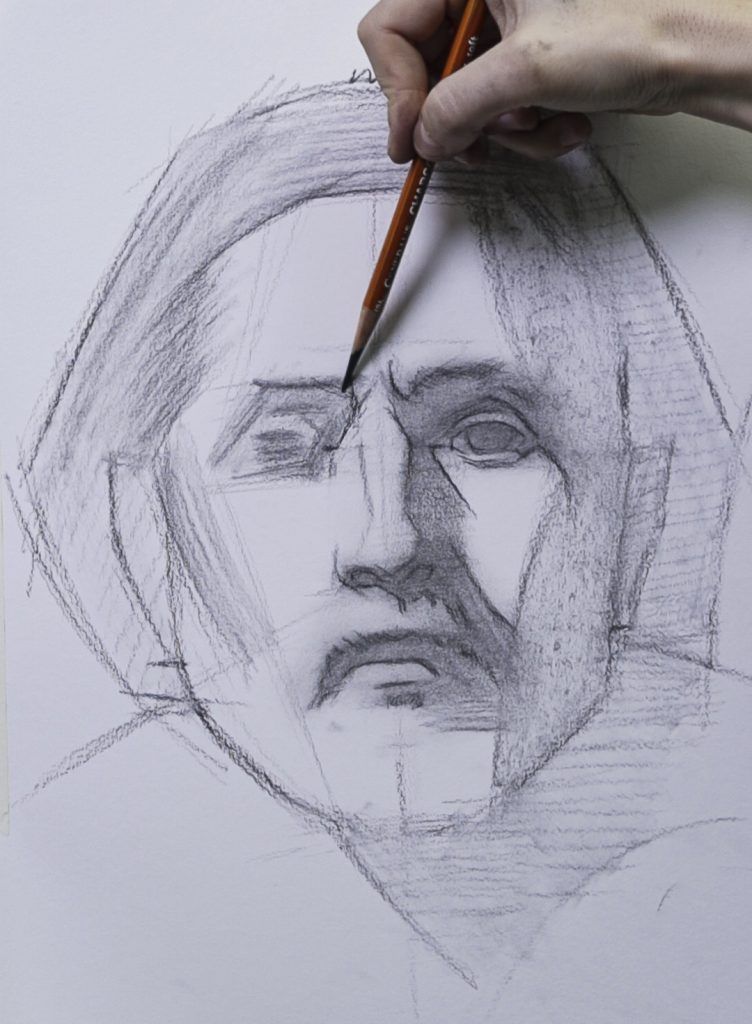
Step 6: Cleaning up the the shapes
At this point in the drawing, the blending may have blurred your shapes a bit. To reinstate the shapes, I like to switch to my compressed charcoal. As compressed charcoal does not erase easily, this will allow me to keep my dividing lines between light and shadow, while also allowing me to continue blending. While doing this, I am starting to add smaller shapes, while still thinking in abstracts.
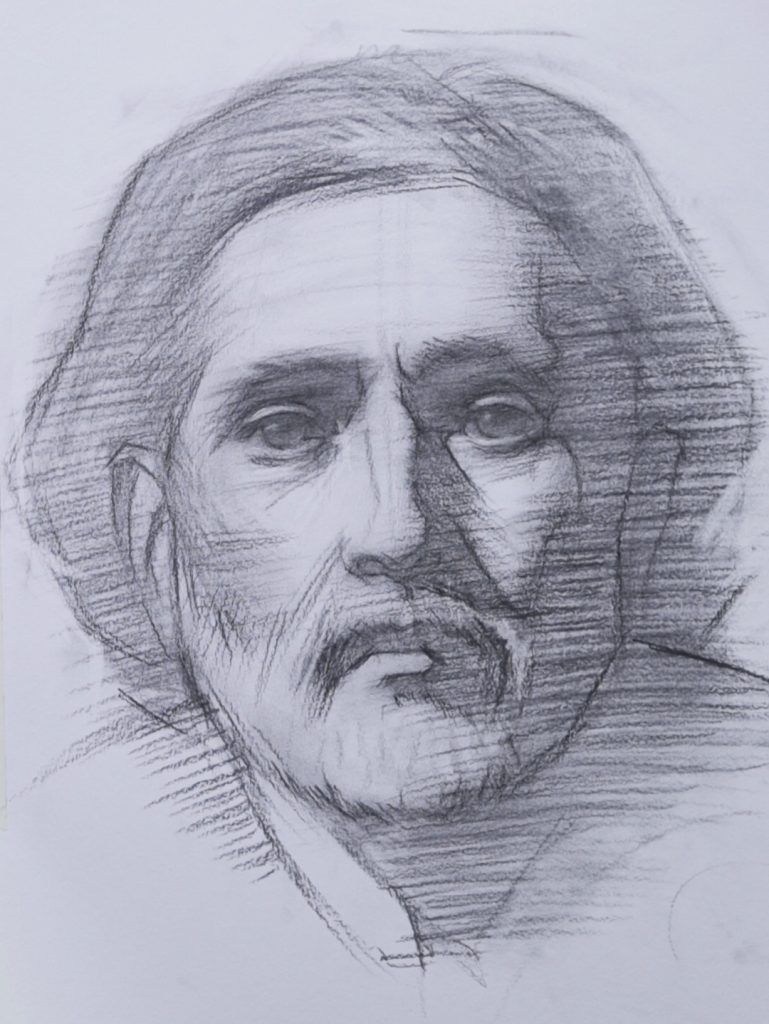
Step 7: Finishing your drawing
To finish my drawing, I keep adding smaller and smaller shapes the way I did in step 3 and 4.
At this point I pay particular attention to the edge of the shadow shapes. Shadows don’t need much internal information, but what can really make a difference to the realism of your drawing is distinguishing between soft and hard edges.

Final drawing, a few final words and recommendations:
As a final note, using big shaded areas can be a useful way to break down the human head into understandable tonal blocks and gives you the freedom to draw the portrait without getting lost in the small shapes. Photographs are excellent for this exercise. Enjoy and I hope to see you at one of my Raw Umber online tutorials!
----------------------------
Hints for taking photos
Use a single source of light to keep areas of light and shade distinct
The camera can bleach lights and deaden shadows, so:
- Bounce light back into the shadows with a reflector or sheet of white paper
- Use manual exposure and shutter speed on your camera for best control
- If you’re using a phone, use an app like Halide for control
----------------------------
Want to try drawing from a photograph? Check out our upcoming online classes, in which our tutors will take you through the process. We have live sessions twice weekly (figure drawing on a Wednesday at 8pm, and portrait drawing on Sundays at 4pm UK time), and our subscribers can access any of our past sessions at any time, as well as browse our vast and diverse reference photograph library...